The word “focaccia” is derived from the Latin words, “from the hearth.” Originally the food of farmers and peasants who used what was
available from their gardens, fields, and neighbors. In its
simplest form, focaccia was made of raised dough, hand-stretched and
dimpled with olive oil and salt and herbs, and baked on
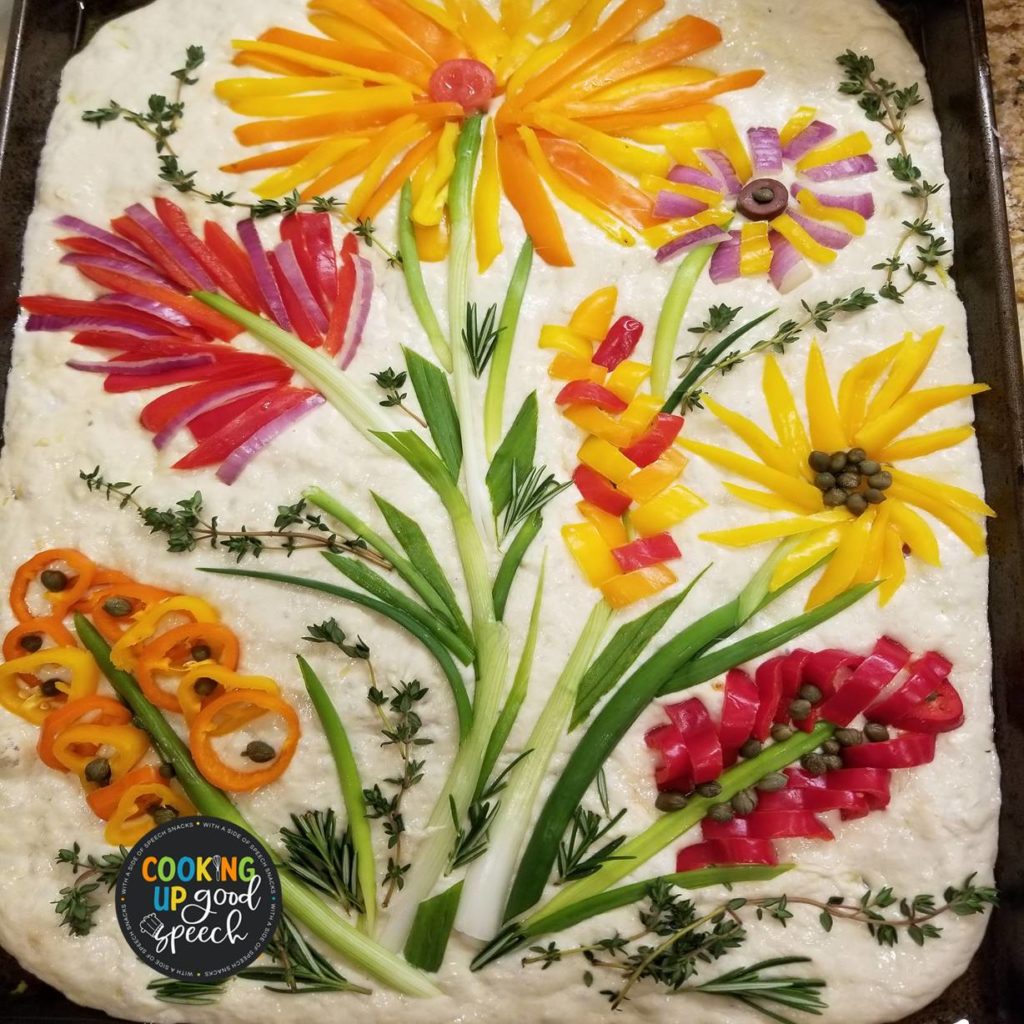
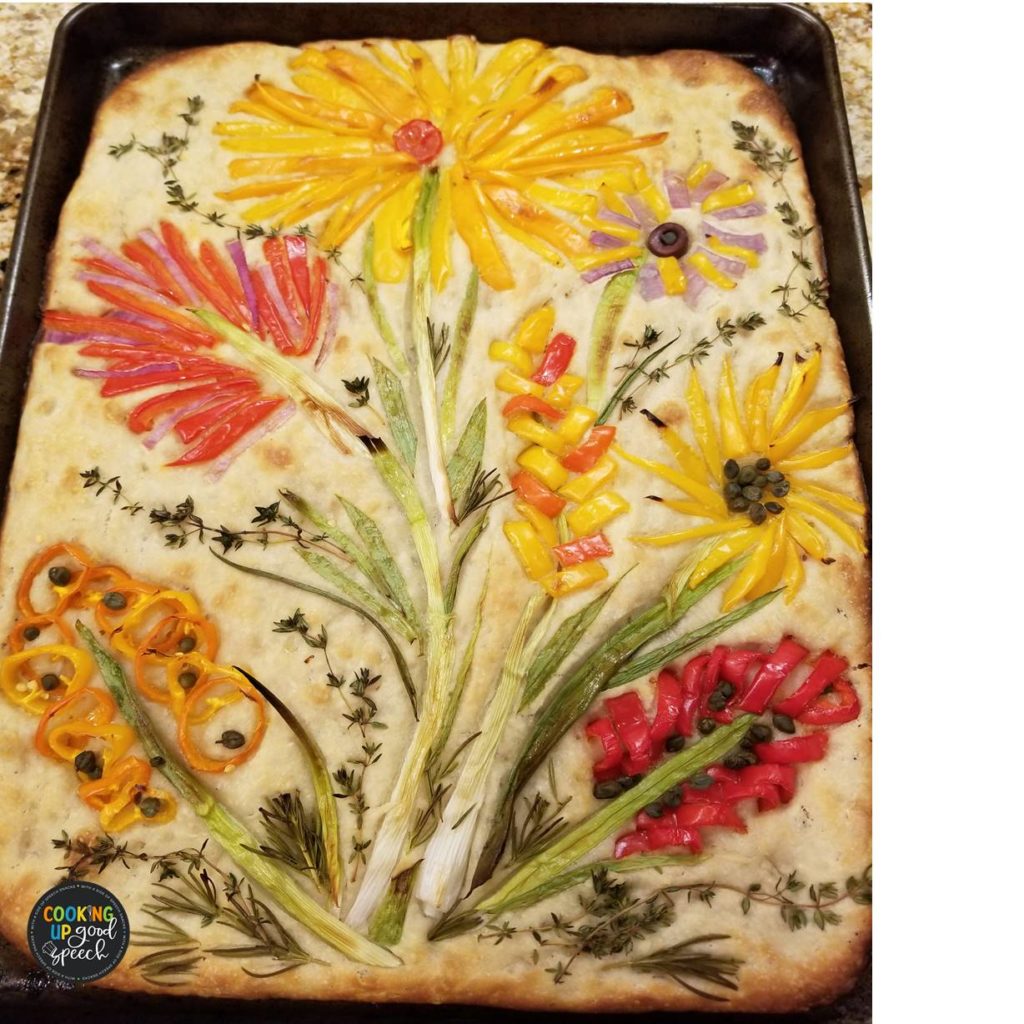
an open hearth in the center of the Italian home. To get some inspiration, I walked around the produce section of the supermarket and Googled some photos of wildflowers and flower arrangements.
INGREDIENTS
- 3 ¼ cups/415 grams all-purpose flour
- 1 tablespoon kosher salt
- ½ teaspoon active dry yeast
- 1 ¾ cups/420 milliliters warm water
- 4 tablespoons extra-virgin olive oil, plus more for greasing
- 1 ½ teaspoons coarse sea salt
- Whole or chopped fresh rosemary leaves, dried oregano, fennel seeds, herbes de Provence or other dried herbs, for garnish (optional)
PREPARATION
- In a large bowl, whisk together the flour, kosher salt and yeast. Add the warm water to the flour mixture and stir until all the flour is incorporated and a sticky dough forms. (Expect a very wet dough; no kneading required.) Pour 2 tablespoons oil into a medium bowl. Transfer the dough to the bowl, turn to coat, and cover tightly with a lid or plastic wrap. Place in the refrigerator to rest for at least 24 hours or for up to 2 days.
- When you’re ready to bake, brush the inside of a 9-by-13-inch baking sheet with oil. Remove the dough from the refrigerator and transfer to the prepared pan. Using your hands, spread the dough out as much as possible, adding oil to the dough if needed to keep it from sticking. (Don’t worry if the dough doesn’t yet cover the full pan; it will once it relaxes and rises.) Place the dough in a warm place and let rise until about doubled in bulk. The rising time will vary considerably depending on the season. (In the summer, it may take only 20 minutes for the dough to warm up and rise; in the winter, it can take 1 hour or more.) When the dough is ready, it should be room temperature, spread out on the sheet and fluffy.
- Heat the oven to 450 degrees. Using your palms, pat down the focaccia to an even thickness of about 1 inch, then, using your fingertips, dimple the entire dough. Drizzle it with the remaining 2 tablespoons olive oil. Sprinkle the entire surface of the focaccia evenly with the sea salt and herbs, if using.
- Bake, rotating once front to back, until the top is uniformly golden brown, 20 to 25 minutes. Transfer the focaccia on the baking sheet to a wire rack to cool, then slide out of the pan. Enjoy it hot. (Focaccia deteriorates in quality after the first day. If there is some left over, wrap it tightly in plastic and store at room temperature for another day. Day-old focaccia is delicious in soup.)

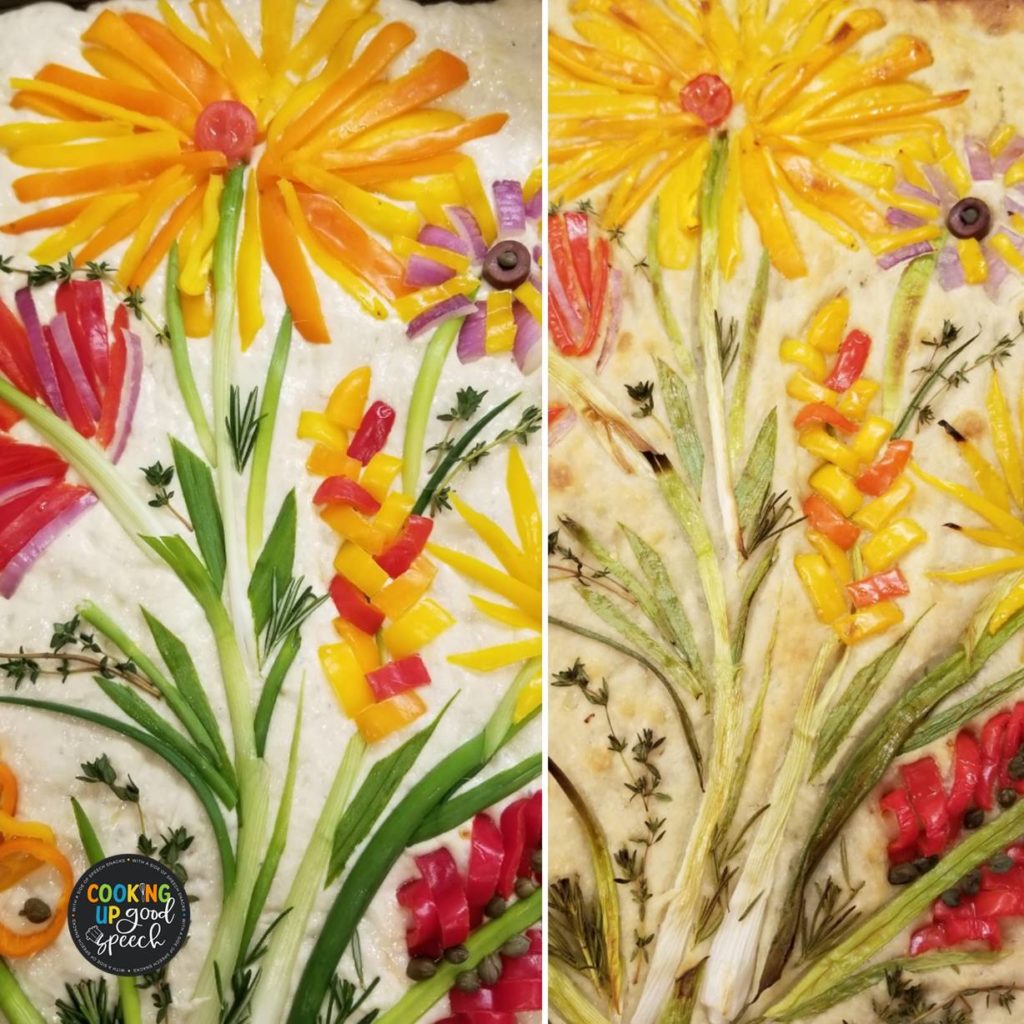
To make a focaccia garden, prepare your vegetables as the dough rises in Step 2. Be creative in working with what you have: Peppers make great petals. Tomatoes do, too, but you might want to drain them before you put them on the dough. Chives and scallions make great stems. Experiment with olives and seeds, purple potatoes, and red onions. Whatever your fancy, cut your decorations a little thick, about 1/8 inch, and dip any fresh herbs in lemon water to keep the colors vibrant as they bake. Arrange the vegetables over the focaccia after you dimple the dough in Step 3. Press them into the dough gently, then drizzle with the remaining 2 tablespoons olive oil, and proceed with the rest of the recipe. You may need to increase your baking time, depending on your amount of decorative toppings.
Some helpful tools to have are your fingers, chopsticks,
toothpicks or skewers, clean tweezers for the tiny things and a
finger bowl of water with a teaspoon of lemon juice for dipping herbs
in to preserve their color while baking. When you place the veggies,
herbs and spices on the dough or “canvas” the billows will help to
“lock in“ with gentle pushing and poking. This prevents the garnishes from falling off while baking. Because bread art takes time
and the dough will be rising while you are creating your Bread art.


Recipe Credit: New York Times Cooking
Photo credit: Rose Kesting


Leave a Reply