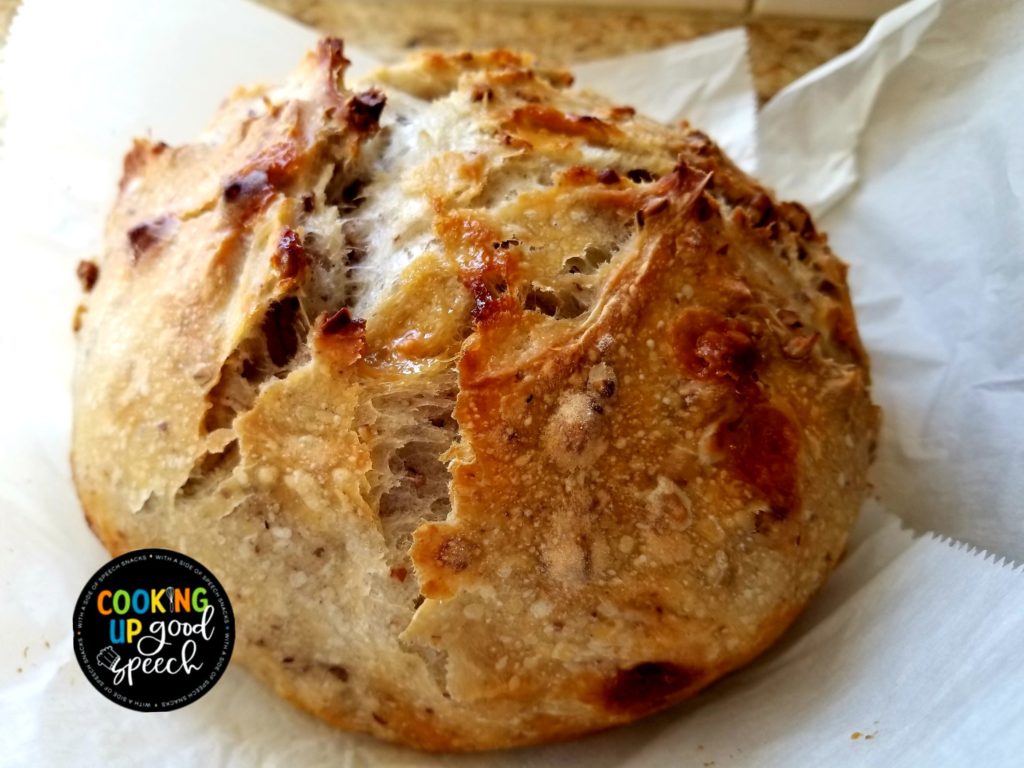
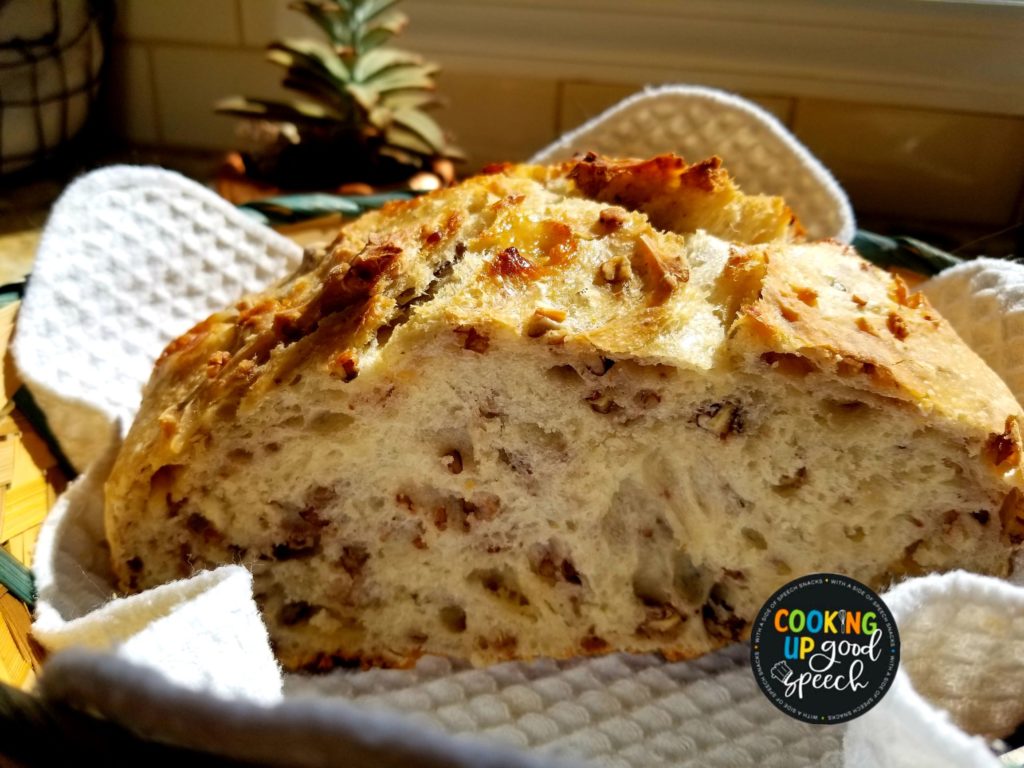
Sundays are for baking bread and breaking bread! ![]() Introducing White Chocolate-Pecan Sourdough Bread!
Introducing White Chocolate-Pecan Sourdough Bread! ![]() I think this is my new favorite sourdough bread. Who would have thought white chocolate belonged in sourdough?? What an amazing combination of sweet and subtle flavors. The key, of course, is a good sourdough starter. I’ve come to realize a good starter needs a lot of love, attention, and warmth in order to grow and thrive—Just like the children we raise at home and teach in school. With the right balance, they can reach their full, glorious potential….kinda like this lovely baked creation!
I think this is my new favorite sourdough bread. Who would have thought white chocolate belonged in sourdough?? What an amazing combination of sweet and subtle flavors. The key, of course, is a good sourdough starter. I’ve come to realize a good starter needs a lot of love, attention, and warmth in order to grow and thrive—Just like the children we raise at home and teach in school. With the right balance, they can reach their full, glorious potential….kinda like this lovely baked creation!

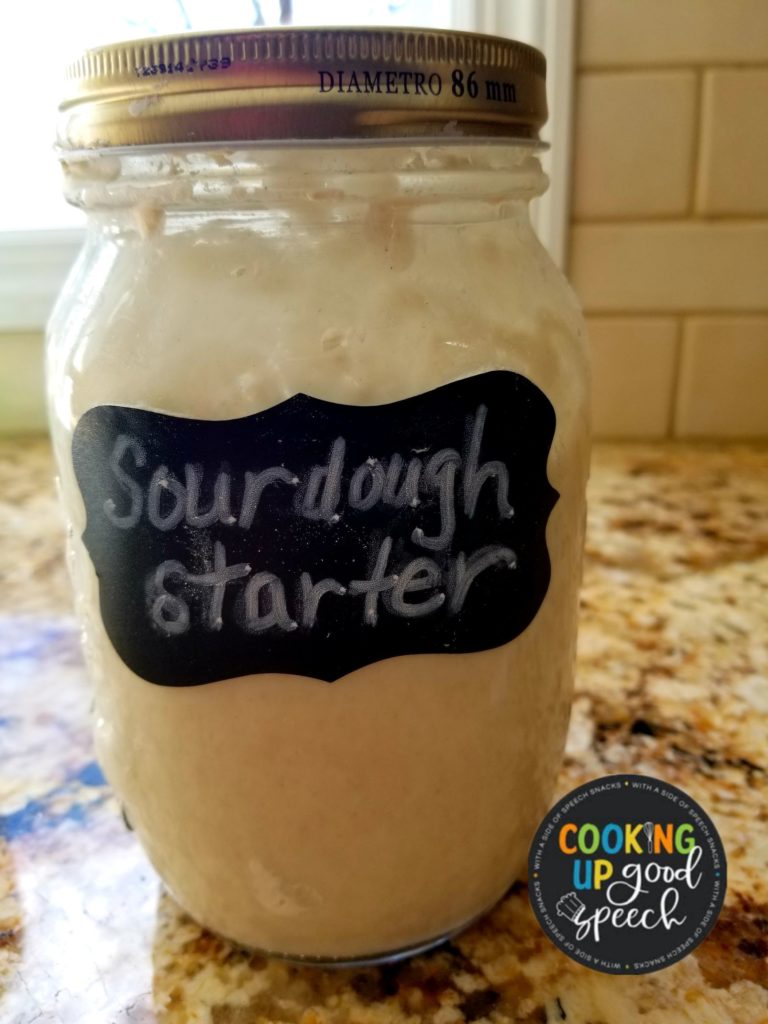
My starter was in need of a little t.l.c. after resting dormant in the fridge. Although I feed it sporadically, I was really not giving it the attention necessary for successful bread baking. After doing a little research, I found that keeping it on the counter or another warm spot in the kitchen, and feeding it twice daily, “woke” it up, turning it back into the fantastically fermenting substance it was destined to be. I was also diligent in pouring off the discard so that I had the proper balance of 100 grams starter, 100 grams water, and 100 grams flour each time I fed it. I will return it to the fridge if I’m not going to bake again for a while. However, the next time I am inspired to bake bread, I will be sure to give my lovely starter some time to prepare for its shining moment by setting it out on the counter a few days in advance and feeding it the necessary ratio of water and flour prior to baking.

I feel good about baking and eating sourdough bread knowing that sourdough is a prebiotic (a nutrient that feeds the ‘good’ bacteria in your gut and helps improve digestion.) It’s also easier to digest than regular bread because the fermentation process breaks down gluten that can cause bloating and other digestive problems.

Ingredients
- 100 grams sourdough starter, active bubbly
- 330 grams water
- 10 grams salt
- 500 grams flour
- 1/4 cup white chocolate chips
- 1/4 cup pecan pieces
Instructions
- Using a food scale, measure the starter and water in a large bowl. Whisk together and then add the salt and flour. Whisk to mix until the dough comes together. Finish by hand until all of the flour is incorporated. (It may still be sticky). Cover and let it rest for about 5 minutes.
- After it has rested, add the white chocolate chips and pecan pieces. Proceed to the next step.
- Next, you will ‘pull and turn’ the dough. Wet your hand so that the dough doesn’t stick and pull the dough up from the side and then fold it over into the center. Turn your bowl a quarter turn and repeat. This helps add volume to your bread and get a better rise. Do this again after 30 minutes.
- This next step is the Bulk Rise. Cover your bowl with plastic wrap or a damp towel and let rise overnight at room temperature. This takes anywhere between 8-10 hours. The dough is ready when it no longer looks dense and has doubled in size.
- After the bulk rise, you are going to shape the dough. Place your dough onto a floured surface and shape it into a ball by putting both hands on the sides of the dough and moving in a small circular motion while putting pressure on the dough. Do your best to shape it in a tight round circle.
- Let the dough rise for a second time. Line a dutch oven with parchment paper and place your dough in the center. Put the lid on and let it rise for 1 hour 30 minutes more. It can be a bit more or less depending on how warm the area it is rising is. The dough should look slightly puffy and increased in size when it’s done.
- Preheat your oven to 450° F. Sprinkle the dough with flour and gently rub the surface with your hands. Using the tip of a bread lame, small, serrated knife, or a razor blade, make shallow cuts around the dough.
- Reduce the heat to 425° F. Place the dutch oven on the center rack, and place a cookie sheet on the rack below. This helps prevent the bottom of the bread from getting too dark. Bake for 45 minutes covered. Remove the lid, and continue to bake for 10-15 minutes if you want a darker more crispy crust. When finished, transfer to a wire rack. Let the bread cool for a bit before slicing. Enjoy!

Photo credits: Rose Kesting
Recipe Credit: www.superhealthykids.com


Leave a Reply