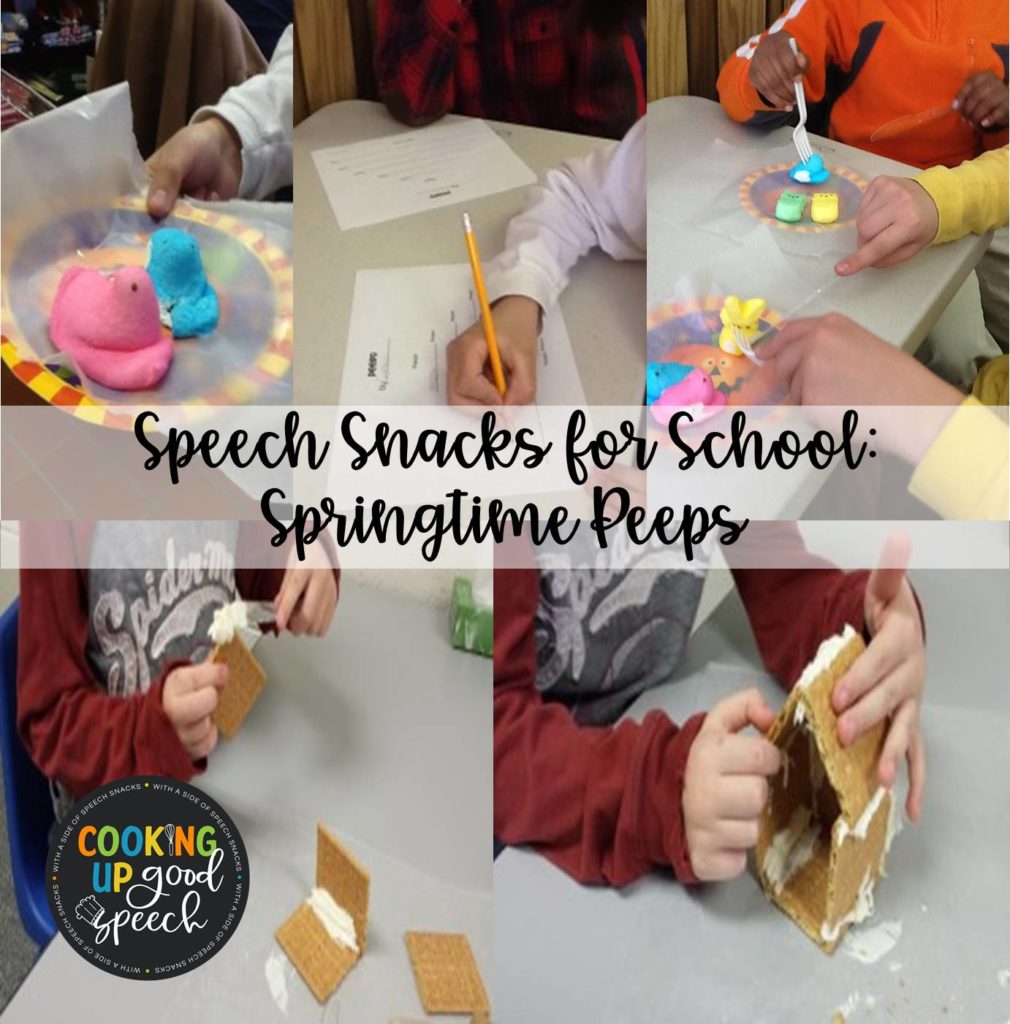
Peeps are everywhere at this time of year! Why do we love these sweet, gooey marshmallowy treats so much? They’re cute, they taste yummy and yes, they are also a fun and functional way to address communication skills. So here are a few quick and easy ways to use peeps with your students (even those big kids will be able to get in on the fun!) Treat yourself to a peep or two (be careful though–they contain tons of empty calories for us grown-ups and will give a sugar high to your students if too many are consumed). So if you want to find a place for them besides your stomach, check out these ideas:
1–A Palace Fit for a Peep! (for pre-k through elementary)
I have always loved working with the pre-k cuties. Up until a year ago, I worked part-time in an Early Intervention program, along with my main gig at a private school for middle and high school students. This activity was one of the spring creations that I enjoyed making with my little ones. The activity presents so many language opportunities: direction following, sequencing, making requests, turn-taking, vocabulary for prepositions, spring words, discussions about animal dwellings, types of birds, and dwellings that people live in. My preschoolers adored this edible activity and I hope you do too!
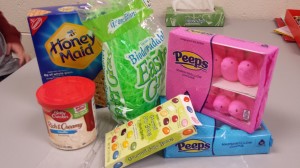
You will need: Peeps, jelly beans, graham crackers, icing, Easter grass, a knife, and a plate or wax paper.
This may be familiar concept to your students —we are making your standard holiday ginger bread house out of graham crackers.
Use four graham crackers to form the base and walls. We put a thick layer of icing on the graham crackers.
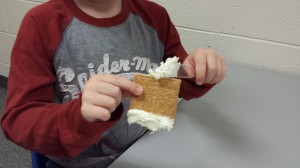
Form your roof with two additional graham crackers. Hold them in place until they set.
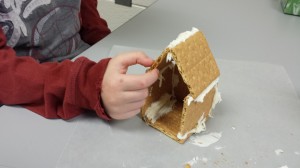
My little pre-schooler was very patient and careful! He couldn’t take his eyes off of his little creation. The time flew by as we reviewed the steps, described our little house, and talked about how good it would taste!
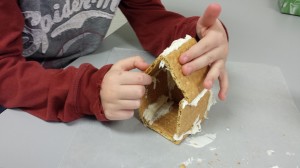
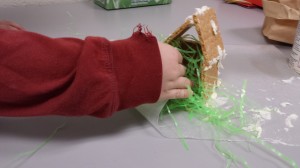
Add a handful of Easter grass to the inside of the house.
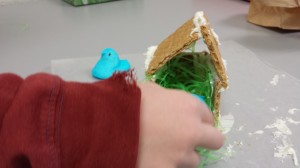
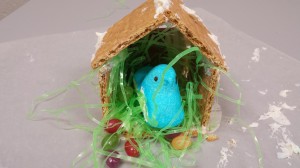
Carefully add your little peep and some jelly beans. So fun and adorable, and most importantly so many language concepts addressed!!!
2. Language Peeps! (for upper elementary and middle grades)
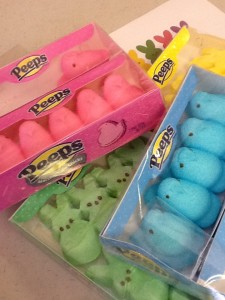
You will need Peeps, a plate and a microwave.
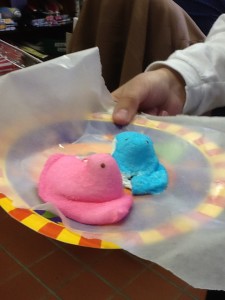
Place peeps on a microwave safe dish or wax paper. We observed and described the properties of the peeps before putting them in the microwave. (size, shape, texture and taste) We recorded our descriptions in on a piece of paper that would be needed later.
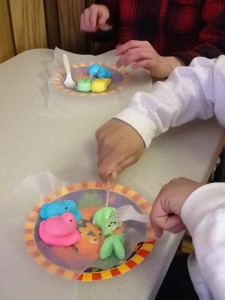
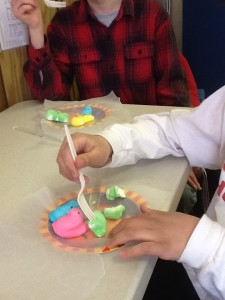
Heat for about 30 seconds. Be sure to keep a close eye on them!
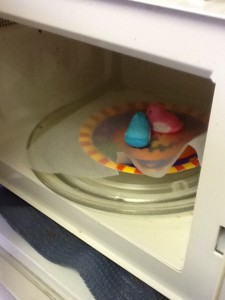
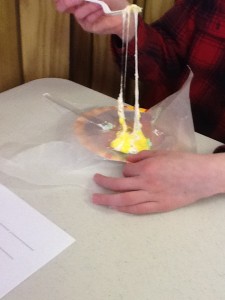
We removed them from the microwave and observed some fun changes to our peeps. We noted the changes to the properties of the peeps. (They loved watching the peeps get puffy, change shape and then start to shrink) Yes, it’s true, even middle school kids love doing this stuff!!
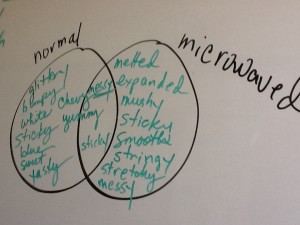
I drew a Venn diagram on the white board and we compared similarities and differences in the non-microwaved and microwaved peeps. My students generated so many great words and ideas:
(non-microwaved) glittery, bumpy, white, chewy, sticky, sweet, tasty
(microwaved) melted, expanded, sticky, stringy, stretchy
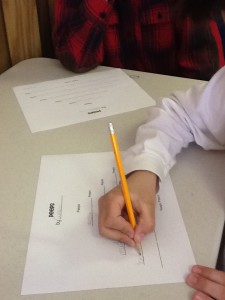
Then they wrote their own Peeps Poem using all the words they generated in the diagram.
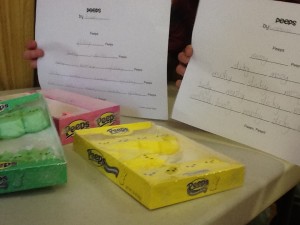
When we finished, they used the words in their poems to write a short story about a Peeps adventure! We focused on following a logical sequence in their stories, writing complex sentences and including all the great adjectives they generated in the prior activity. They shared their adventure stories and we at a few more peeps. A fun time and speech and more importantly a motivating activity with effective results!
3. Peeps play dough
(I can honestly say that this activity is suitable for any and all age groups due to the language possibilities—the older kids will love this just as much and the little ones!)
There are TONS of links for Peeps play dough if you do a Google search! This one from Growing a Jeweled Rose blog provides great visual references for carrying out the activity. I like to use videos with my older students as motivation when addressing language skills. The video above clearly sequences the steps for making the play dough. I blogged about ways to use how-to videos with your older students, so the video included here would be a perfect way to address comprehension and sequencing with your older students. I even created some FREE “How-To” graphic organizers in my TpT store that can be used with this activity!!! You will need only a few ingredients: PEEPS (of course), corn starch, coconut oil and a microwave.
What other ways do you use Peeps with your students? I’d love to hear about it! And it’s okay to admit that you keep them all to yourself and prefer to just eat them straight out of the box, dipped in dark chocolate or melted into s’mores! I will understand!


Leave a Reply