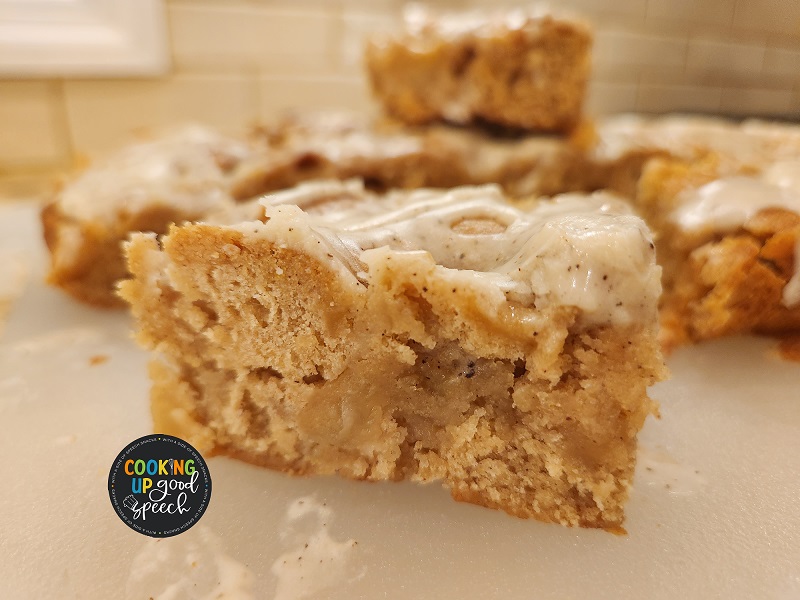
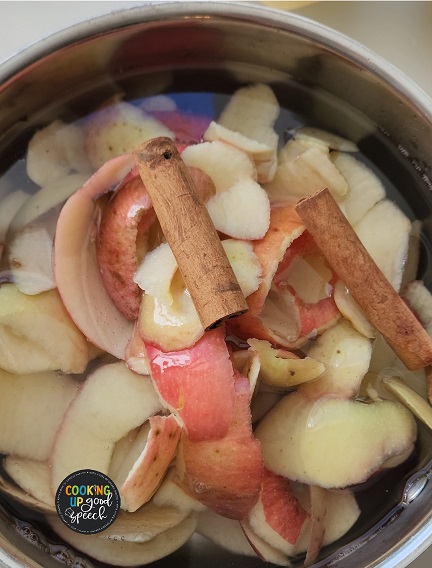
Fall is apple season! If you’re looking for something to do with all those sweet pommes (that’s french for apples!) look no further than Apple Blondies. These treats are packed with deliciousness, but the real showstopper is the browned butter icing. The nutty flavor of browned butter compliments the sweetness of the fruit for a soft and chewy fall dessert or anytime snack. And don’t throw out those apple peels! Simmer them on your stovetop in a pot of water. Add cinnamon sticks and simmer. Your entire house will smell like a warm autumn day in an apple orchard! (see photos below)
Ingredients
Apples
- 2 cups peeled chopped apples (about 4 medium apples–although I added a little extra!)
- 2 Tablespoons pure maple syrup (or brown sugar)
- 1/8 teaspoon ground cinnamon
Blondies
- 1 cup (2 sticks; 230g) unsalted butter, cut into pieces
- 2 and 1/3 cups (291g) all-purpose flour
- 1 and 1/2 teaspoons baking powder
- 1/2 teaspoon salt
- 1 teaspoon ground cinnamon
- 1/4 teaspoon ground nutmeg
- 1 and 2/3 cups (330g) packed light or dark brown sugar
- 2 large eggs, at room temperature
- 1 and 1/2 teaspoons pure vanilla extract
Brown Butter Icing
- 1/4 cup (60g) unsalted butter
- 1 and 1/2 cups (180g) confectioners’ sugar
- 2 Tablespoons (30ml) milk
- 1/4 teaspoon pure vanilla extract
Instructions
- Important before you begin! Brown the butter for the blondies and icing first. You can brown the butter for both the blondies AND the icing together. Once it’s all browned, set 4 Tablespoons (2 liquid ounces) aside for the icing in step 8. The rest (8 liquid ounces) is for the blondie batter, used in step 6.
- Brown the butter: Slice the butter into pieces and place in a light-colored skillet. (Light-colored helps you determine when the butter begins browning.) Melt the butter over medium heat, stirring constantly. Once melted, the butter will begin to foam. Keep stirring. After 5-8 minutes, the butter will begin browning and you’ll notice lightly browned specks begin to form at the bottom of the pan. You will smell a nutty aroma. Once browned, immediately remove from heat, pour into a heat-proof bowl, and set aside until ready to use.
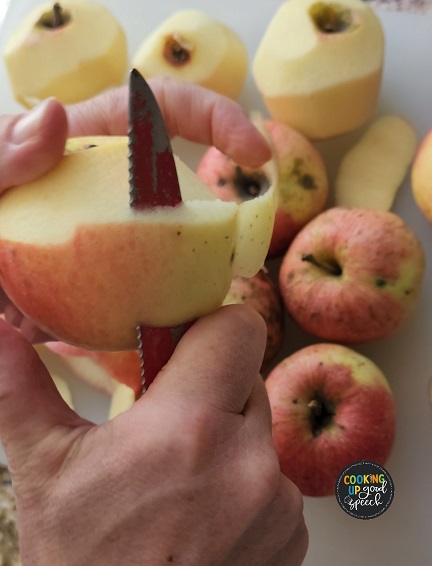
- Prepare the apples: Meanwhile, return the pan to the stove. (No need to rinse out!) Add the apples, maple syrup/brown sugar, and cinnamon. Stir and cook over medium heat until apples have slightly softened, about 3-5 minutes. Set apples aside.
- Preheat the oven to 350°F. Line the bottom and sides of a 9×13 inch baking pan with parchment paper, leaving an overhang on the sides to lift the finished blondies out (makes cutting easier!). Set aside.
- Make the blondies: Whisk the flour, baking powder, salt, cinnamon, and nutmeg together in a large bowl.
- In a medium bowl, whisk 1 cup browned butter, brown sugar, eggs, and vanilla extract together. Pour the wet ingredients into the dry ingredients and stir until combined. Fold in the apples. Batter will be thick.
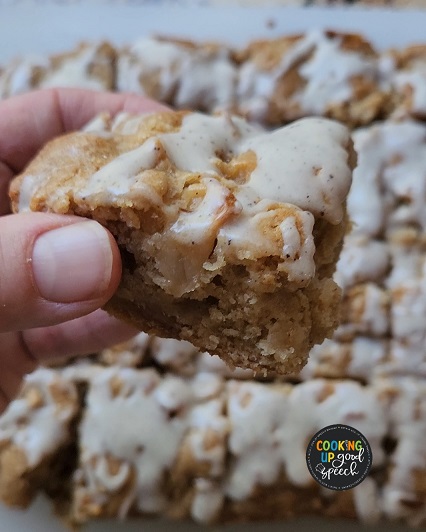
- Evenly spread batter into prepared pan. Bake for about 35 minutes or until the top is lightly browned and a toothpick comes out *mostly* clean. Remove from the oven and allow the blondies to cool completely in the pan set on a wire rack.
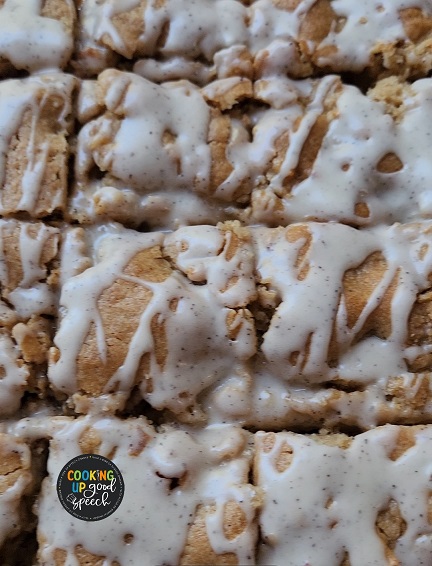
- Brown butter icing: Heat the remaining 1/4 cup (4 Tablespoons) of brown butter in the microwave for a few seconds since it has likely solidified by now. Whisk in confectioners’ sugar, milk, and vanilla extract. If needed, add more confectioners’ sugar to thicken or more milk to thin out. Drizzle over cooled blondies then cut into squares.
- Cover and store leftover iced blondies at room temperature for up to 2 days or in the refrigerator for up to 1 week.
Apple-Peel Potpourri
Save your leftover apple peels and use them to make an aromatic potpourri that will leave your house smelling like apples and cinnamon. Add apple peels to a pot of water. Throw in cinnamon sticks (other add-ins: orange peels, lemon peels, cloves.) Cover the pot and bring it to a boil. Remove lid and let simmer over a low flame. Keep an eye on the water level. Water will evaporate over time, so be sure the contents inside the pot does not burn.
Recipe Credit: Sally’s Baking Addiction
Photo Credit: Rose Kesting


Leave a Reply